
Ironclad Sterling Heights Epoxy Flooring logoIronclad Sterling Heights Epoxy FlooringFlooring
Decorative Flake Epoxy · Sterling Heights

Decorative Flake and Chip Epoxy Floors in Sterling Heights, MI

Vinyl chips broadcast to rejection over a solid epoxy base, then sealed under polyaspartic. It is the floor most Sterling Heights homeowners pick once they see it.

1 day installs · typical timeline

Tell us about your project.

We'll be back to you the same business day.

No spam. We'll text you to confirm.

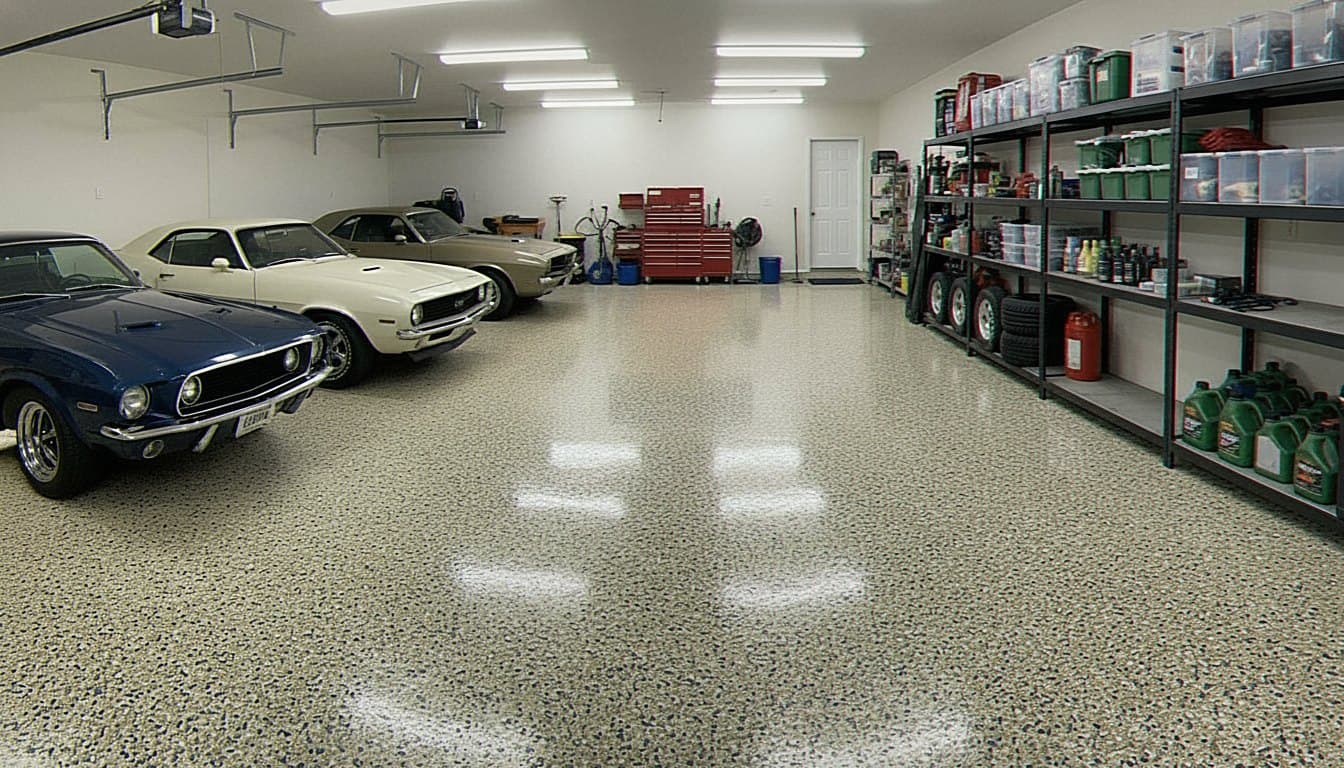
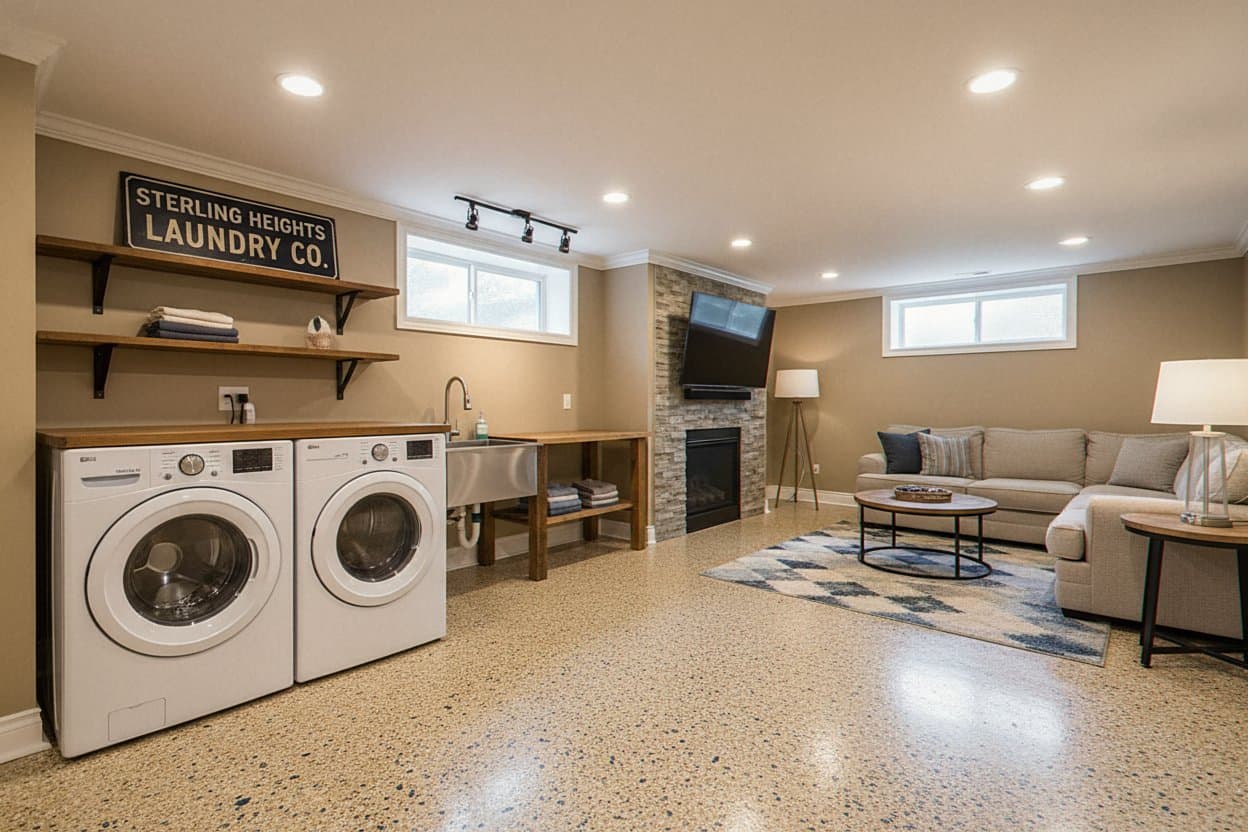
Decorative flake epoxy with vinyl chips
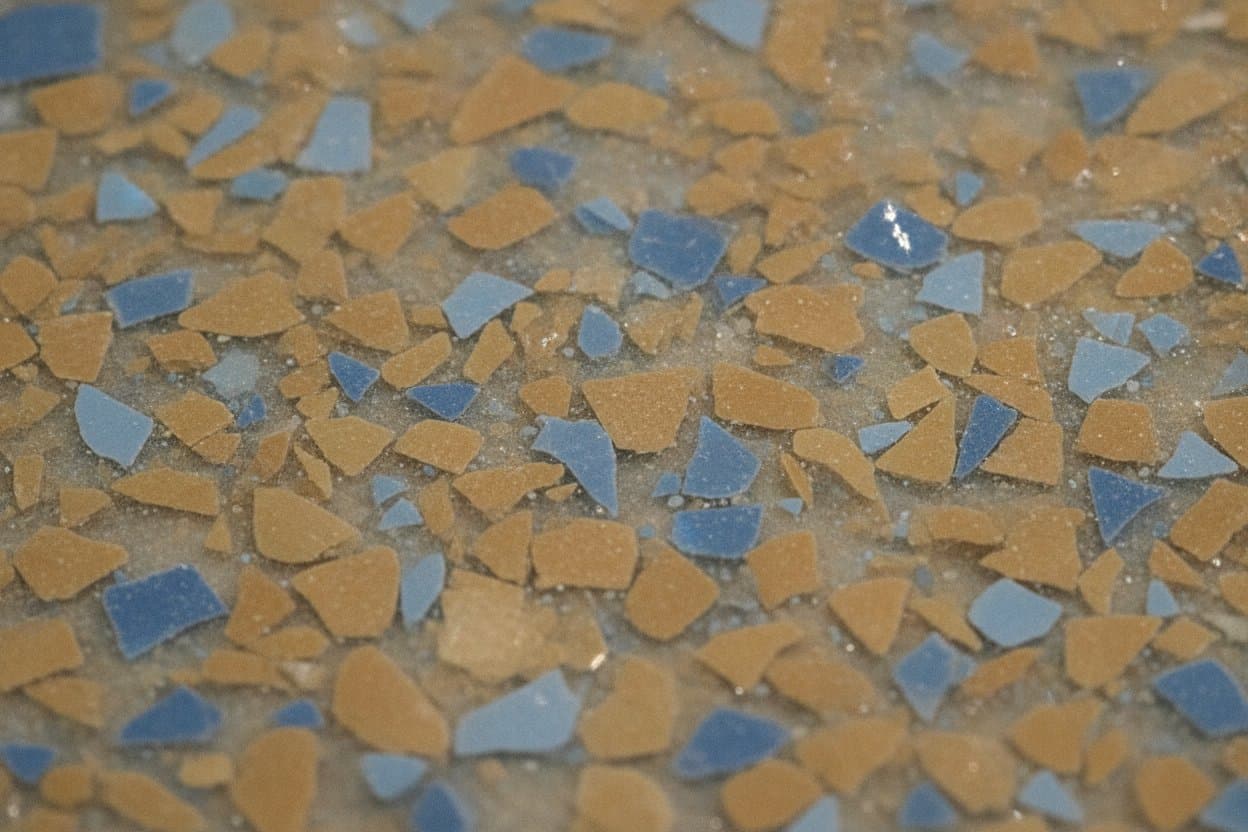
Vinyl flake detail in epoxy
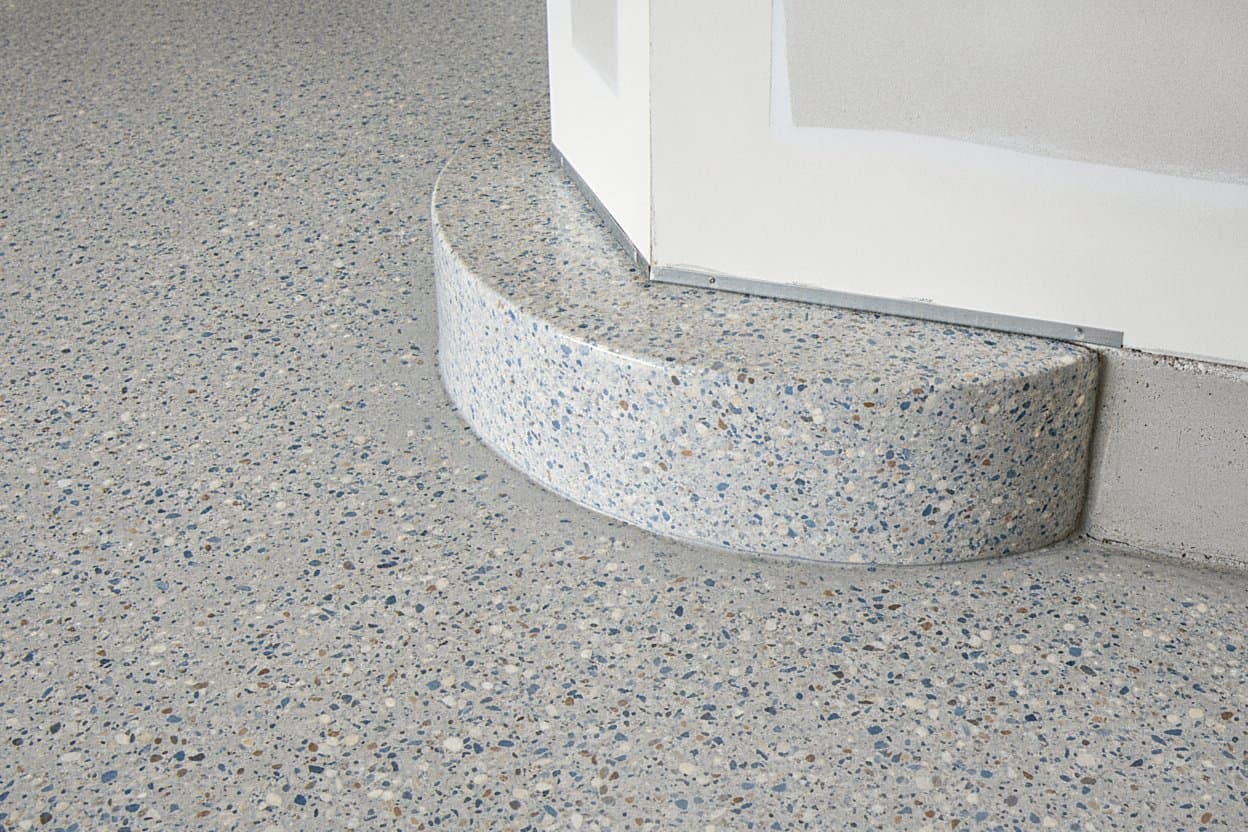
Flake epoxy edge near wall
What we install

Why most Sterling Heights garages end up with flake

Decorative flake epoxy is the floor most Sterling Heights homeowners land on once the choices sit side by side. The look comes from vinyl chips thrown across a wet epoxy base until the surface will not take any more. A garage off Schoenherr or near Dodge Park takes a beating. Road salt rides in on the tires all winter, oil drips in summer, and a bare slab shows every mark. Flake hides all of that. The chips break up the surface so scuffs, tire ghosts, and hairline cracks stop reading as flaws. We pour this floor as a full system, not a paint job, and we build it for the freeze and thaw cycle this part of Macomb County runs through every year.

The install runs in layers and wraps in one working day. First our crew grinds the slab open to a CSP-3 profile, because the resin needs that tooth to grip. Next we read the slab moisture with a disc or a probe, and that number picks the primer. Then a solid epoxy base goes down, and while it is still wet two of us broadcast the flake from opposite corners until the base rejects more chip. The next morning we scrape and vacuum the loose excess, then seal the locked chip layer under a clear polyaspartic top coat. That last layer is a different chemistry. It cures hard, stays clear in sunlight, and lets you walk on the floor the same evening.

  • We broadcast flake until the wet base takes no more, so coverage stays full and even.
  • The chip pattern masks tire marks, dust, and the hairline cracks an old slab carries.
  • Built in texture keeps footing sure when winter boots drag slush across the floor.
  • Custom chip blends match your cabinets, trim, or wall color at no upcharge.
  • A standard double garage finishes the install in one working day.
Most homeowners think they want a solid color floor. Then they see the flake on a sample board and change their mind.

Most decorative flake epoxy work in Sterling Heights goes into home garages, though we lay it in basements and workshop floors too. From the brick ranches off Schoenherr to the newer builds up near Hall Road, the slabs share the same damp and freeze cycle that breaks a cheap finish. Our Epoxy Flooring Sterling Heights crew walks every floor in person and reads the moisture before we put a number on paper. We do not quote a flake floor from a phone photo. The number goes on after we see the slab.

Torn between a solid floor and a flake floor for your Sterling Heights garage? Most people choose flake once they hold both samples in their own light. Send us the details with the form on this page and we will bring the boards to you.
Materials

Broadcast to rejection, in plain terms

Decorative flake is a blend of vinyl chips, and the blend is where the look gets decided. The chips come in a mix of colors and a mix of sizes, from a fine quarter inch up to a full inch. A fine chip reads as a smooth speckle from standing height. A larger chip gives the floor more movement and more depth. We blend the color to whatever you bring us, a cabinet door, a paint chip, or a fabric swatch, so the floor ties into the room instead of fighting it. Under all of it sits a solid epoxy base, because the chip only holds if the base it lands in is thick and still wet.

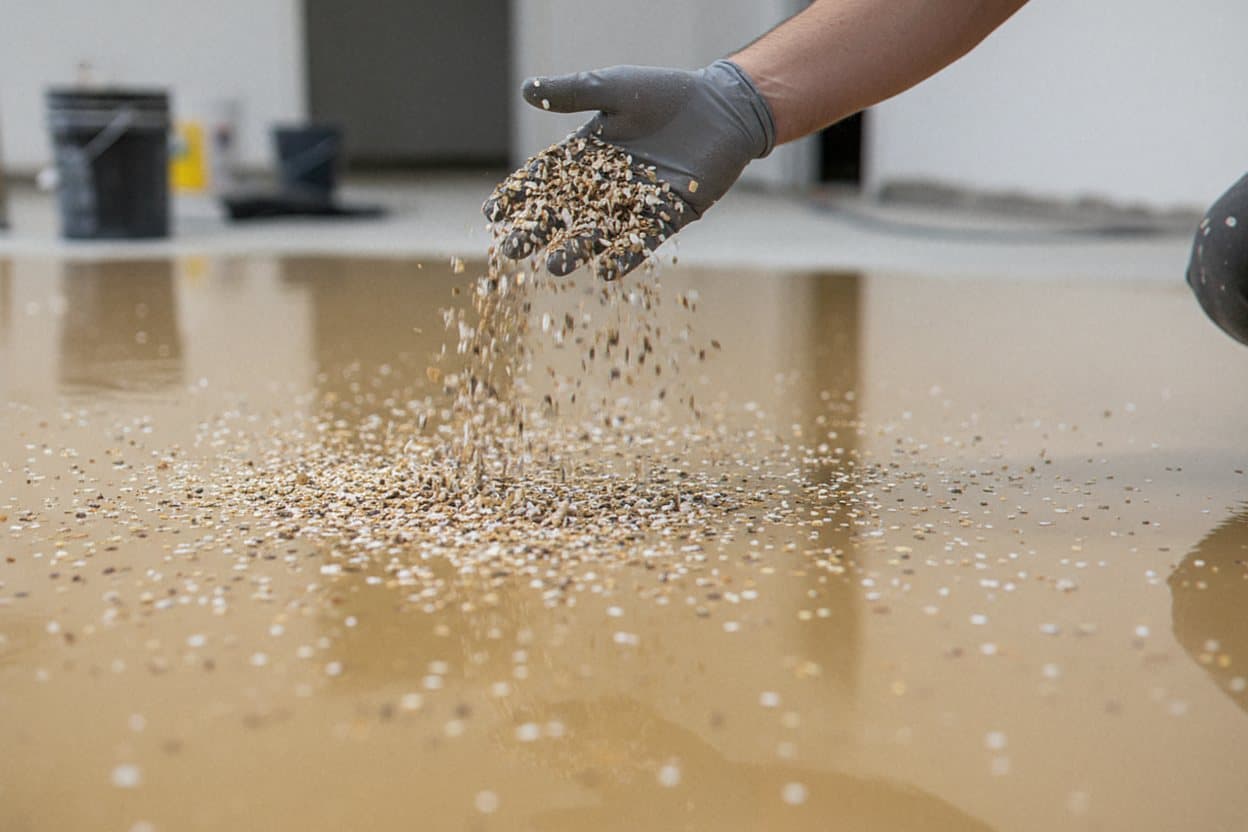
The broadcast itself looks like a two person dance more than heavy labor. With the solid epoxy base rolled out flat and still wet, two of us start from opposite corners and toss the chip mix overhand so the arcs cross in the middle. How you throw changes the result. A flat hard toss drops chip in a tight pile, while a looser windmill scatters it wide and even. We keep throwing until the wet base stops swallowing chip and reads as full. That is the rejection point. Come morning, the loose chip that never set into the film gets pushed up with a wide broom and vacuumed off. What is left, the chip locked into the base, gets sealed under clear polyaspartic so the floor reads as one finished surface.

  • Vinyl chip blended by color and size, keyed to your room.
  • Solid epoxy base, thick and wet, so the chip locks in.
  • Broadcast to rejection by hand, so coverage is full and even.
  • Day two: sweep off the loose chip, then seal the set layer in polyaspartic.
Broadcasting vinyl flakes over wet base
Finished flake floor full view
What about the alternatives?

Flake measured against the other home finishes

Flake is one of several ways to finish a garage or basement slab. The rows below show how each option holds up once a Sterling Heights winter and a humid summer cycle through it, based on the floors we are called out to fix.

Solid color epoxy

Clean and even on day one, but it shows every scuff, tire mark, and bit of dust. A working garage looks tired fast.

Acceptable

Sparse decorative speckle

A light scatter of chip over a colored base. It reads as cheap up close and still shows the flaws a full broadcast would hide.

Skip

Full flake broadcast

The system on this page. Chips thrown to rejection, sealed under polyaspartic. It hides flaws, adds grip, and wraps in one day.

Recommended

Quartz broadcast (vinyl alternative)

Natural quartz grain instead of vinyl chip. Tough and great for grip, though the color range is narrower and the cost runs higher.

Acceptable

Metallic epoxy

A liquid, swirled look with real depth, sealed the same way. It is the move when you want the floor to be the feature, not the backdrop.

Recommended
How it goes

From quote to walk-on, fast.

01

Walk the slab

We start with an in-person visit. We read the slab for moisture, existing coatings, cracks, and the surface profile before quoting anything.

02

Diamond grind and prep

A planetary grinder opens the concrete to a CSP-3 profile. Cracks and pop-outs get a polyurea fill. No resin goes down until the surface is clean and dry.

03

Four-coat install

Primer sized to the moisture reading, solids epoxy base, vinyl flake broadcast, and a polyaspartic topcoat, all in one working day.

04

Cure and walk

Foot traffic by evening. Vehicles roll back on the next day. Full chemical resistance comes in at seven days. We go over the timeline before we leave.

Before you book

Worth confirming before signing a flake quote

Flake is forgiving, but a few things still separate a floor that lasts from one that lifts. We answer each of these straight on the site visit. If a crew you call dodges one, take that as your sign to keep dialing.

It depends on the blend you pick, not on flake as a finish. A loud, high contrast mix can read as trendy and date the way any bold choice does. The blends that stay easy on the eyes are the neutral ones, a slate and gray, an earth tone, a soft tan that works with most cabinets and walls. We steer most homeowners toward a blend that will still look right in ten years, and we lay real sample boards in your own light so you are not guessing. The floor itself does not wear out on that timeline. Only taste does.
Yes, and on home jobs we do that blending at no extra charge. Bring whatever sets the color you want, a cabinet door, a paint chip, a tile, even a fabric swatch. We hand mix vinyl chip from stock until it lands on your target. To keep one steady color across the whole floor, we batch the blend ahead in set weights, and a bigger room just means more bags pulled from that same batch so the tone never drifts halfway across the slab.
No, as long as the crew handles it the right way. After the broadcast, a layer of loose chip sits on top that never locked into the base. We leave it overnight while the base cures, then scrape it up with a wide push broom and vacuum the floor clean the next morning. None of that loose chip ends up under the topcoat. We reclaim the good excess and reuse it, so very little goes to waste. Skip that scrape step and the topcoat traps loose chip, which reads as grit underfoot and weak spots in the seal.
It depends on the kind of crack. A static hairline that no longer moves gets chased open, filled with a flexible polyurea, and then buried under the chip. After that it disappears for good. A crack that still works with the seasons is a different story. No amount of chip will hide one that keeps shifting. On the site visit we walk the slab and label each line as static or active. Where a joint still moves, we stop the coating at that joint and start it again on the far side. We do not stretch the film across a live joint, because anything we bridge over it will only tear.
You have a couple of options, and neither means tearing out the slab. The simplest is a fresh flake floor laid right over the old one, after a light grind to give the new resin something to grip. The other is a metallic or solid coat over the existing base for a whole new look. Because the chip is sealed under polyaspartic, the floor underneath stays sound for years, so a future change is about taste, not repair. We log your original blend on the paperwork, so a touch up later starts from the right colors.
Aftercare

What daily life with a flake floor looks like

A finished flake floor asks for very little once it cures. The chip texture and the clear topcoat hide small marks, so day to day it mostly needs to stay free of grit. A weekly sweep or a quick pass with a dust mop handles that, since dragged grit is the only real abrasive on the surface. Once a month, damp mop with a pH neutral cleaner to bring the gloss back. Salt brine and dropped oil sit on top of the seal instead of soaking in, so they wipe off with a damp rag. Skip strong acids and any degreaser poured straight from the jug, because the dilution on the label is there for a reason.

  • Sweep or dust mop weekly, since dragged grit is the only real abrasive on the floor.
  • Damp mop monthly with a pH neutral cleaner, and skip strong acids and ammonia.
  • Set a coarse mat at the door to catch grit before it lands on the floor.
  • Wipe spills when you see them, though the topcoat gives you time before they set.
  • Felt pads under anything heavy, and never drag a toolbox straight across the surface.
Decorative flake epoxy with vinyl chips
FAQ

Frequent questions about flake floors

Market pricing is the honest place to start. Professionally installed epoxy generally runs $3 to $8 per square foot for a solid color floor, with most jobs landing near $5 to $7. Decorative flake systems sit around $7 to $12, and metallic finishes reach $8 to $15, with the condition of the slab doing most of the moving inside those ranges. Michigan trends toward the lower end of the national spread, so most homeowners around here pay closer to $4 to $7 per square foot for solid color. Treat those as market figures, not our quote. Our number goes on paper only after we walk your slab, because grind time and the moisture reading swing the price more than the color ever will.
Three things drive the number: the floor size, the shape the slab is in, and the finish you pick. A slab with deep cracks, oil soaked into it, or a heavy moisture reading adds real prep time, and a metallic pour or a dense custom flake blend sits at the higher end of the range. A good crew walks your slab in person. Then it puts a fixed number on paper, because the slab is the one thing we truly have to see before we can quote.
Figure 10 to 20 years for a professionally installed epoxy floor, and 15 to 20 when the slab gets a true diamond grind and the system is sealed under a polyaspartic or urethane topcoat. That prep-plus-topcoat build is the only way we pour a floor, which is why we plan for the long end of that range. Big-box kits sit in a different bracket. Those often peel within 1 to 3 years, and the first sign is usually hot-tire pickup right where the car parks.
For a Sterling Heights garage or basement, we think so, and not only because we pour it. A coated slab seals against the road salt that rides in from November through March, oil wipes off the film instead of soaking into the concrete, and the flake texture keeps footing when boots drag slush inside. The honest caveat is that it is only a good idea as a full system over ground concrete. A thin coat of the same product over a dirty slab is money spent twice.
A store kit runs roughly $90 to $300, and a two-car garage usually totals about $300 to $700 once the etch solution, rollers, and a topcoat go in the cart. That is a real up-front saving, so we will not pretend otherwise. What the box leaves out is the diamond grind, the moisture reading, and a hard topcoat, and that is why kit floors often peel within 1 to 3 years, usually starting under the warm tires. A professional system costs more once and runs 10 to 20 years. The right answer depends on how long you need the floor to stay down.
One working day for most garages and basements. The grind happens in the morning, the coats stack through the afternoon, and you walk on the floor that evening, about four to six hours after the final coat. The car rolls back in around the one day mark. A metallic pour takes two days, since the worked base has to cure before the clear coat seals it. Full chemical resistance arrives near the end of the first week.
A high gloss coating can be, which is why we do not leave grip to chance. A full flake broadcast gives the surface a fine texture you can feel through a boot sole, and where water is part of daily life we mix an anti-slip additive into the topcoat, which keeps the floor slip resistant even with snowmelt standing on it. If you want a smooth solid color floor in a wet room, we will say plainly what that trade means before you pick it.
Not directly, and a crew that promises otherwise is scheduling a peel. Epoxy holds because it grips open concrete, so old paint, failed coatings, and glue residue get ground off back to bare slab before the primer goes down, and tile or wood comes up first. Give the slab that prep and the answer changes from no to yes. Most of the recoat work we take on in Sterling Heights starts exactly this way, with somebody else's shortcut coming off under our grinder.
The two products do different jobs in the same floor. Epoxy is the base. It grips the slab and builds up the film thickness, while the polyaspartic on top is the hard, clear layer that cures fast enough to finish a whole floor in a single working day. A floor with only epoxy on it stays softer, turns yellow in sunlight, and takes much longer to cure before you can use it. We lay both.
Five names cover most of the market. Epoxy is the thick build coat that bonds to the slab and carries the color and flake. Polyaspartic is the fast curing, sunlight stable topcoat that seals the system and beats warm tire pickup. Polyurea is the stretchier relative, better as a flexible crack and joint fill than as a whole floor. A DIY kit is a thin single pass of epoxy with no grind under it, which is why it peels early. And interlocking tiles are a cover rather than a coating, snapping over the slab while trapping salt grit and moisture beneath it. We build with the first two and use polyurea where the concrete needs to flex.
Yes. The work happens indoors, so the season itself is not the real limit. As long as the garage holds about 55 degrees through the cure, our crew can pour a floor in January as easily as in June. Most winter jobs just run a portable heater for a few hours. Spring and fall book up fast, so winter often has the shorter wait.
Hot tires are the main reason cheap coatings fail. A cured polyaspartic top layer is harder than the tire itself, so it stays put on the base even after a long summer drive home in heavy July heat. It does not lift. Ask each crew how they handle a callback if anything ever peels, and get that answer in writing before you sign the job.
Ready when you are

Get a fixed-price quote on your Sterling Heights Epoxy Flooring Sterling Heights this week.

Free on-site walk-through. Written estimate before a single bag is opened.

Call (586) 225-8221Get My Free Quote
Call NowFree Quote