
What a metallic floor actually is, on the slab
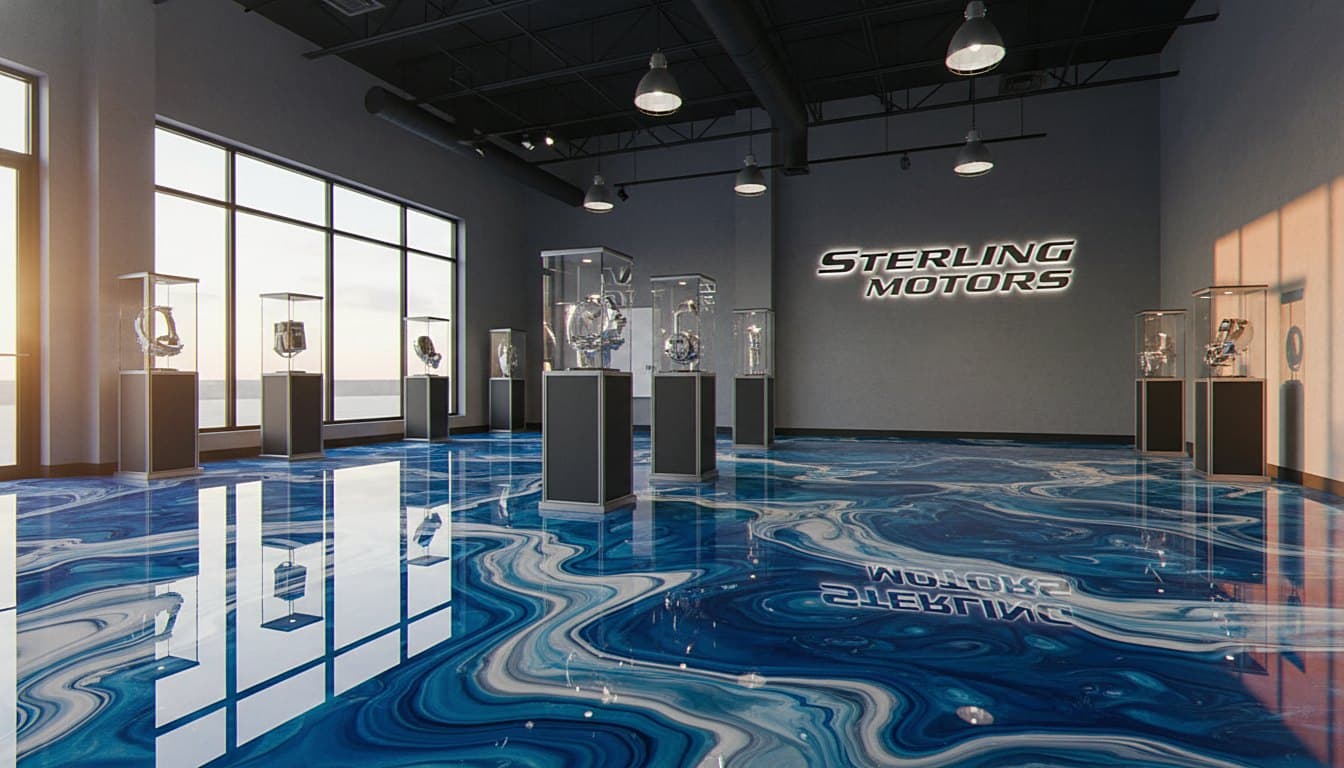
Metallic epoxy is the floor people pick when they want the slab itself to be the feature, and it is the pour that sorts the skilled epoxy flooring contractors from the rest. In Sterling Heights we pour it in finished basement bars, show garages, and the odd office lobby off Hall Road. The look comes from mineral mica stirred into clear resin. As the resin spreads, the mica drifts and settles, and that drift is what reads as depth. A flake floor hides the slab. A metallic floor turns the slab into the art.
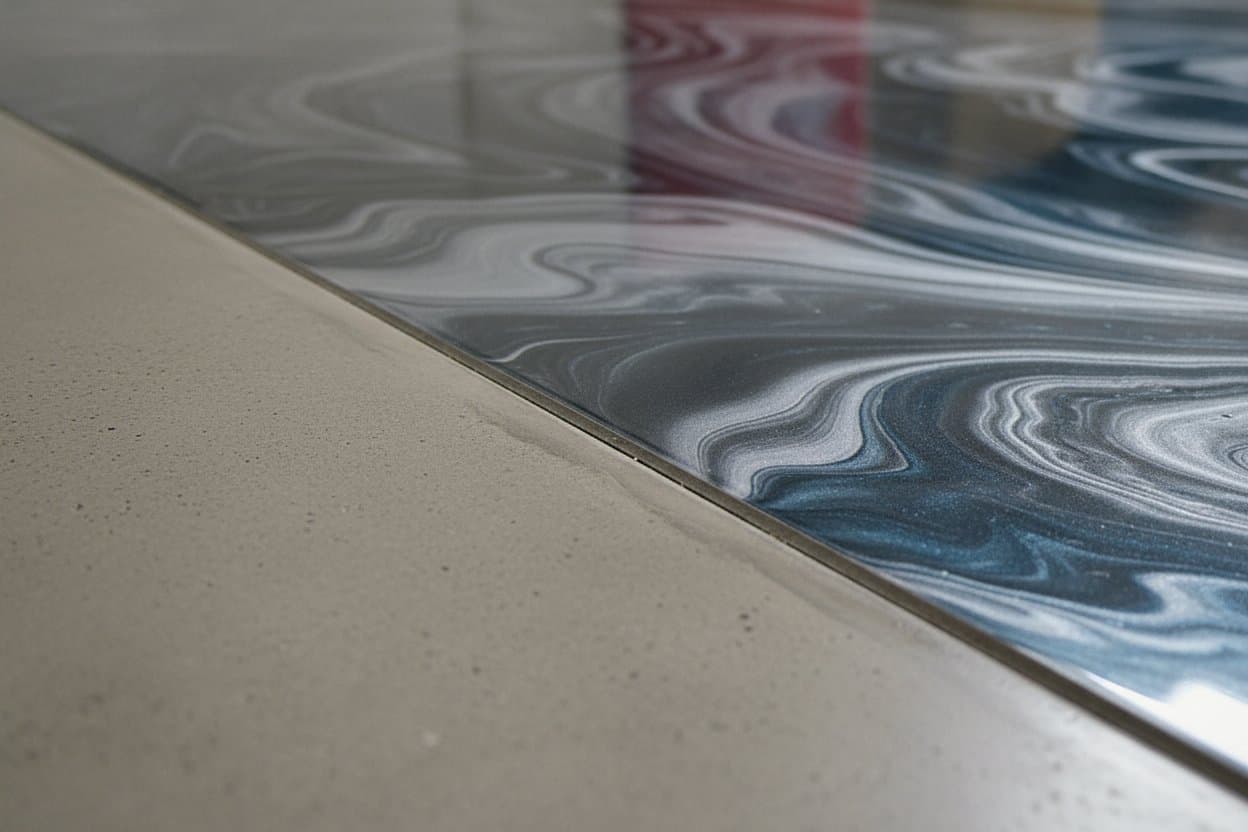
A metallic epoxy floor builds in layers like our other systems, with one extra step in the middle. First our crew grinds the slab open to a CSP-3 profile so the resin grips. A primer goes down, picked by the moisture reading on your floor. Then comes the metallic base, where the mica is suspended in clear resin and worked by hand while the film is still wet. We move it with rollers and a brush, and a light torch pass, to pull the swirl and the pools the look needs. Once that base cures, a clear polyaspartic topcoat seals it, adds the gloss, and gives the floor the same hardness our other coatings carry.
- Common blends here: copper on slate, polished nickel, storm blue, warm walnut.
- Sealed under polyaspartic. Same chemical and daylight toughness as any other system.
- No two floors come out the same, since the mica moves a little on every pour.
- Right answer for a finished basement bar, a polished garage, a commercial entry foyer.
- The clear topcoat keeps the depth visible and holds up to daily foot traffic.
Most metallic epoxy work in Sterling Heights goes into rooms where the floor is meant to be seen. A bar room in a finished basement. A show garage off Dodge Park. The entry of a small office near Hall Road. Our Epoxy Flooring Sterling Heights crew brings real sample boards to the first visit and lays them on your slab. The same pigment can read like two different floors under basement LED, garage door sunlight, and a gray January window.
Picture a metallic epoxy floor in your Sterling Heights basement bar, show garage, or shop entry. The look is custom to your slab. The right way to choose it is in person, with poured sample tiles set on your floor in the light you live with. Use the form on this page and we will set up a visit.

